Can you fix a small rip in a down jacket?
Finding a little tear in your favorite down jacket? It can totally feel like a tiny heartbreak. That small rip isn’t just a hole; it lets all your warmth out. And if you ignore it, it’ll just get worse. But hold on! Before you stash that puffer jacket away for good or pay a fortune for a pro, listen up. Fixing small tears in your down jacket is actually a pretty easy DIY job. You just need the right stuff and a little know-how. Then you can patch up those small holes and cuts, getting your jacket’s warmth and water resistance back. This guide will show you all the key steps. We’ll cover checking the damage, picking the best patch, and more. So your go-to jacket will be adventure-ready for seasons to come.
Table of Content
- Assessing the Damage and Gathering Supplies
- Step-by-Step Patching with Adhesive Repair Tape
- Sewing a Reinforced Patch for Durability
- Addressing Down Leakage and Seam Failures
- Aftercare and Professional Repair Considerations
- Conclusion and Final Action
- Action Call (CTA):
- Frequently Asked Questions (FAQ)
Assessing the Damage and Gathering Supplies
Identifying the Type of Tear
First things first, take a close look at that tear. What you do next totally depends on what kind of damage you’re dealing with. Is it a neat, straight cut from a branch? Or maybe a tiny hole from a thorn or your pet’s claw?
Could it be a messy, L-shaped rip right on a seam? For clean, straight cuts less than two inches long, your best bet is an adhesive patch or some special repair tape.
A little drop of clear, flexible seam sealant usually does the trick for small holes. But for trickier tears—like ones on the shoulders or pockets, or any rip bigger than a few inches—you’ll probably need to both sew and patch it to make it last.
I found this out the hard way. I once just taped up a frayed tear on an elbow, and the tape peeled off after just one hike.
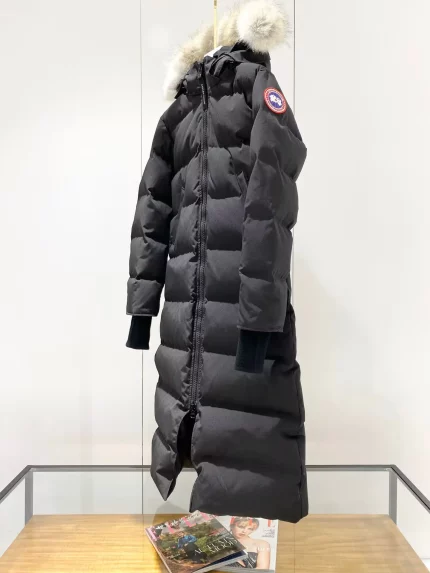
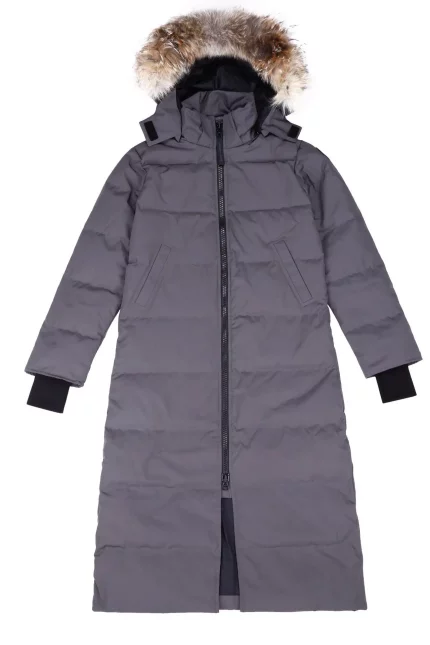
This graphite grey with black label mid-length parka is engineered for severe arctic conditions down to -30°C, featuring 85% white duck down with 600+…
View Product →
Essential Repair Kit Components
Next up, gather your repair supplies. Honestly, having the right stuff ready is most of the work. For most small tears, grab some rubbing alcohol and cotton swabs to clean it, plus patch material like tenacious tape.
nylon repair tape, or a scrap of matching fabric, and don’t forget sharp scissors. If you want a stronger fix, you’ll also need a needle, some tough thread (nylon or polyester works), and a thimble.
Here’s a key point: if your down jacket has that water-repellent (DWR) coating, make sure your patch is waterproof and breathable too, so your jacket keeps working like it should.
Companies like Gear Aid and McNett sell great, ready-made repair kits that are tested outdoors and made just for gear like this.
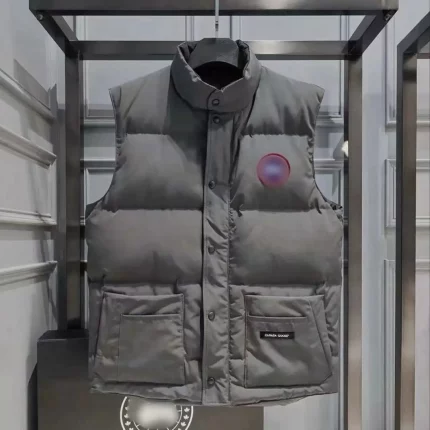
Engineered for reliable performance in transitional climates, this grey camo replica vest utilizes 290g of 90% white duck down, delivering excellent l…
View Product →
Here’s how to patch up your down jacket with repair tape, step by step.
Getting the surface ready is super important.
First thing, you gotta clean and dry the spot completely. This step is the most important if you want the patch to really stick. If there’s any dirt, grease, or wetness, the tape won’t hold right.
Grab a cotton swab, dip it in some rubbing alcohol, and clean a good area around the tear—bigger than the patch you’ll use. Then just let it air dry all the way. You’ll get the best results if you do this somewhere warm and dry.
I always pack a little alcohol wipe in my repair kit for fixes on the trail. It makes a huge difference, helping the tape stick even when conditions aren’t perfect.
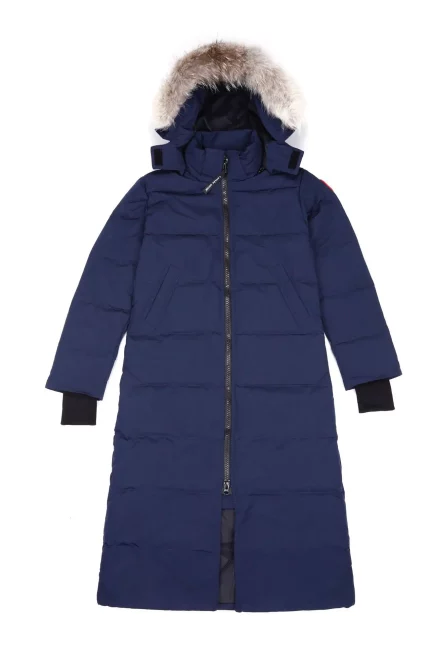
This navy blue mid-length parka delivers serious protection for arctic conditions down to -30°C, featuring 85% white duck down with 600+ fill power fo…
View Product →
Now, how to put the patch on and seal it up.
The main job here is to press the patch on firmly and evenly. Cut a piece of tape big enough to cover the tear well. Round off the corners—they’re less likely to peel up than pointy ones.
Peel off the backing, then line up the patch carefully over the hole. Once it’s in place, take something hard like a scissor handle or an old credit card. Rub it from the middle outwards to smooth the patch down and get rid of air bubbles.
Keep pressing down hard for a good 30 to 60 seconds. If it’s a spot that gets a lot of wear, you can make it extra secure. Just put a second, smaller patch on the inside of the jacket too. That makes a sandwich repair. That’s how I saved my own jacket after it got caught on some barbed wire.
Engineered for versatile cold-weather performance, this deep blue replica vest utilizes 260g of 90% white duck down with high loft retention
View Product →
Let’s sew on a strong patch to make it last.
First, pick your fabric and thread.
The main job here is to find a matching patch fabric and some tough thread. If the rip is too big for just tape, you’ll need to sew it. You can cut a patch from a similar fabric.
An old nylon stuff sack works great, or you can buy special repair fabric. Use synthetic thread, like polyester or nylon. It holds up better against weather and wear. Here’s a pro tip: a smaller needle makes fewer holes in the jacket fabric. Check out this quick guide to different repair threads:
Threads for Fixing Your Down Jacket
| Thread Type |
Best For |
Strength |
Water Resistance |
| Polyester |
Good for most outer shell fixes, really durable. |
High |
Good (it doesn’t soak up water) |
| Nylon is best for high-strength seams and stress points. |
High-strength seams, stress points |
Very High |
Excellent |
| Upholstery Thread |
Great for reinforcing big patches. |
Extreme |
It depends on the type. |
Now, sew the patch on by hand so it stays put.
The key step is to use a basic whip stitch or backstitch. Place the patch over the tear and pin it down. Sew the patch on with a backstitch for a strong, solid line, or use a tight whip stitch around the edges.
Try to keep your stitches about an eighth of an inch apart and an eighth of an inch from the edge. Be careful! Don’t sew through both layers of the jacket. You don’t want to catch the down inside.
When you’re done sewing, dab a little clear nail polish or seam sealant on the thread ends. This stops them from coming undone. This fix can actually be tougher than the jacket fabric itself!
This cream white mid-length parka provides serious arctic protection for temperatures down to -30°C, featuring 85% white duck down with 600+ fill powe…
View Product →
Addressing Down Leakage and Seam Failures
Stopping Feather Escape from Small Holes
First things first, stop the leak before you even think about patching it up. If you see feathers puffing out of a hole, your top priority is to plug that leak. Carefully tuck any sticking-out feathers back inside the jacket’s lining.
Next, grab a flexible, clear seam sealant—something like Gear Aid Seam Grip works great—and put just a tiny drop right on the hole. A toothpick helps you apply it neatly. Let it dry completely, following the instructions on the bottle.
That usually means waiting a full day or two. Once the sealant is totally dry, then you can stick a patch over it. This adds a tough layer to protect the spot from more wear and tear. Doing it in these two steps does two important jobs: it keeps the down insulation in and creates a strong outer fix.
This cream-colored vest utilizes premium 700-fill power white duck down to deliver exceptional warmth-to-weight ratio performance.
View Product →
Reinforcing Compromised Seams and Zippers
Here’s the main move for this part: use seam sealant on stitches that are coming undone. Little rips usually pop up where seams cross or where the jacket fabric connects to the zipper.
If the stitches are just getting loose, you can carefully run some liquid seam sealant along the thread. This glues the fibers back together and stops a small problem from becoming a big rip.
Use the fine tip that comes with the sealant and make sure you’re in a spot with good airflow. If the zipper tape has come off or a seam has split open, you’ll need to both sew it and seal it.
First, sew the area back up using a backstitch for strength. After you’re done sewing, go over your new stitches with the sealant. This way, you fix it so it’s strong again and keeps the water out.
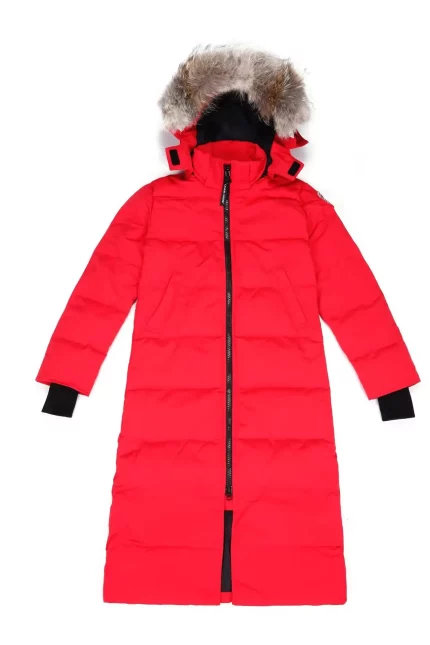
This vibrant pink mid-length parka delivers serious arctic protection for temperatures down to -30°C, featuring 85% white duck down with 600+ fill pow…
View Product →
Aftercare and Professional Repair Considerations
Testing and Maintaining Your Repair
Core Operation: Test the repair before trusting it in the field. Once the patch has cured for the recommended time, give the edges a gentle tug to see if it’s sticking well. If you sewed the patch on, look for any threads that might have come loose.
Then, carefully bend the fabric around the repair to put a little stress on it. For waterproof jackets, a quick water test is a good idea. Just sprinkle a few drops on the patch and make sure the water beads up.
Taking care of your jacket after the repair is key. Wash it like the label says, using a special tech detergent. When drying, skip the high heat—it can mess with the glue. Tumble dry on low instead. Throw in a couple of tennis balls on low heat to fluff the down back up around your repair.
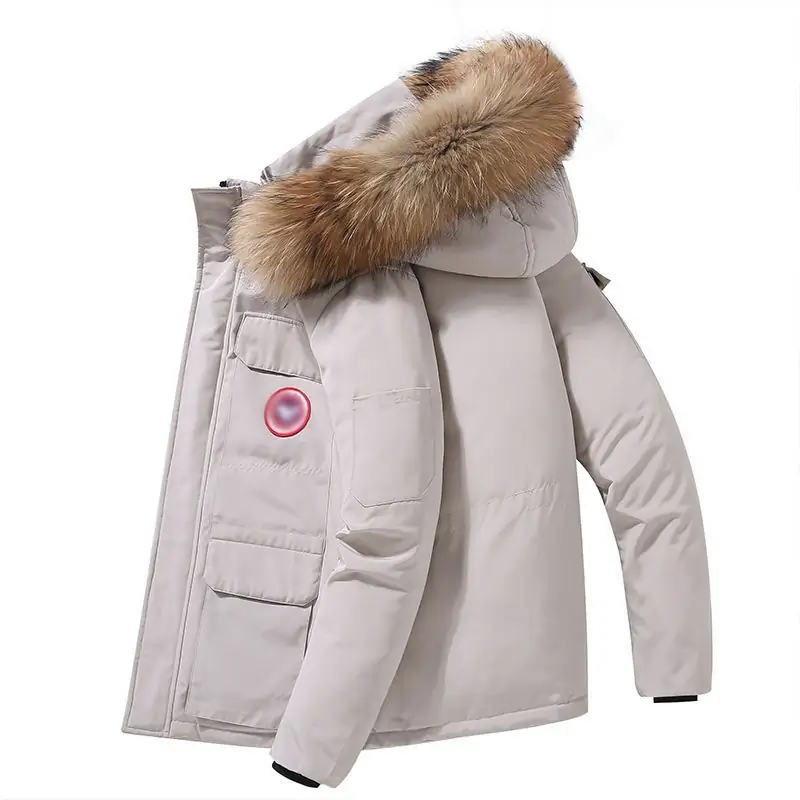
This high-quality replica vest utilizes 700-fill power white duck down to deliver a superior warmth-to-weight ratio
View Product →
When to Seek Expert Help
Core Operation: But know when a DIY fix just won’t cut it. Small tears you can handle yourself, but some damage really needs a pro. We’re talking big rips—like over 3 or 4 inches. Or if several baffles are torn and you’re losing a lot of down.
Tears in tricky spots, like the hood or along those welded seams, are also pro jobs. Luckily, lots of outdoor brands, think Patagonia or The North Face, have great repair shops.
Their warranties usually take care of factory flaws, but for normal wear and tear, they’ll likely charge a fair price. Here’s a handy guide to help you decide what to do:
Should You Fix It Yourself or Call a Pro?
| Damage Type |
Recommended Action |
Estimated Cost |
Turnaround Time |
| Small puncture ( lt;1) |
DIY Seam Sealant Tape |
It’ll cost you about $5 to $15 for a kit. |
And it’ll be done in a day or two. |
| Clean slash (1-2) |
An adhesive patch should do the trick yourself. |
Expect to spend $10 to $20. |
You’ll be finished in about an hour. |
| Large tear ( gt;3), multiple baffles |
Time to send it to a professional repair service. |
$40 – $80 |
But plan on waiting 2 to 6 weeks to get it back. |
| Need a new zipper or major seam work? |
Time to send it to a professional repair service. |
Cost is typically between $30 and $60. |
Turnaround is usually 2 to 4 weeks. |
Conclusion and Final Action
Fixing a small tear in your down jacket is pretty satisfying. It’s a handy skill that saves you money, makes your gear last longer, and keeps you cozy. Just take a good look at the tear, grab the right stuff, and follow the steps carefully. You’ll end up with a fix that works great and hardly shows. Don’t forget, fixing it right away stops a little rip from turning into a big problem. So, just get your repair kit out. You can give your puffer jacket a new lease on life and get back out there feeling sure of yourself. A tiny tear shouldn’t put your adventures on hold!
This distinctive sky blue mid-length parka provides serious arctic protection for temperatures down to -30°C, featuring 85% white duck down with 600+ …
View Product →
Action Call (CTA):
Ever fixed up a beat-up jacket yourself? Did your DIY repair actually work? Drop your before-and-after pics or your top patching trick in the comments!
Want more tips on keeping your gear in good shape? Check out our full guide on how to get the waterproofing back on your favorite worn-out jackets.
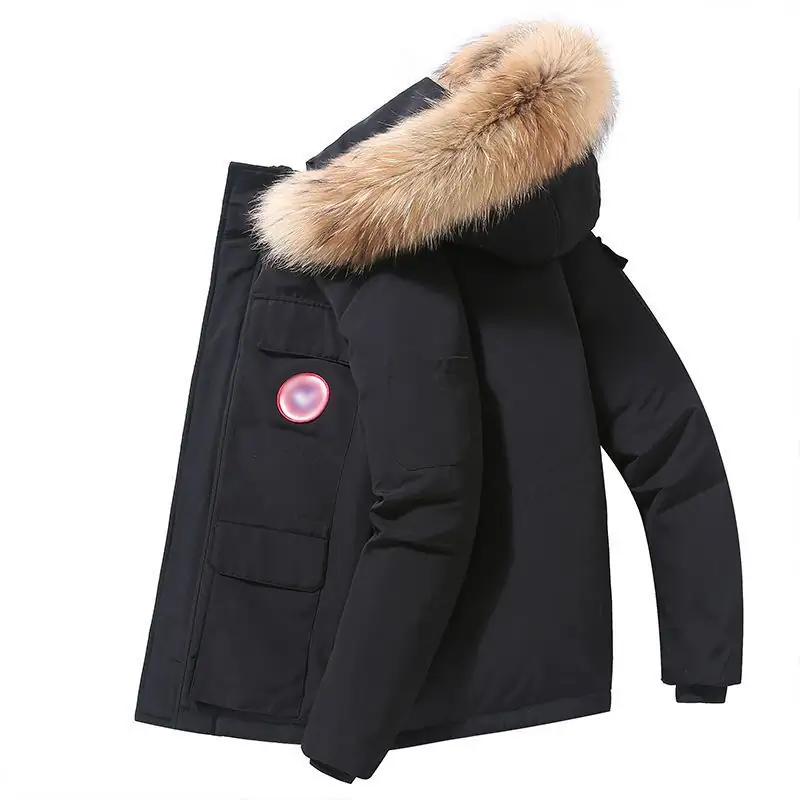
This black replica vest delivers efficient core insulation with 700 Fill Power white duck down, offering a balanced loft-to-weight ratio ideal for tra…
View Product →
Here are some common questions people have.
So, you’re out hiking and your down jacket gets a tear. What’s the quickest way to fix it right then and there?
Your best bet for a quick trailside fix is clear duct tape or a special repair tape, like Gear Aid Tenacious Tape. First, try to clean the spot with a spare cloth or an alcohol wipe. Let it dry.
Then, slap on a piece of tape that’s big enough to cover the whole tear. This is just a temporary fix to stop more feathers from escaping. Once you’re home, you’ll want to put on a proper, permanent patch.
Can you just use a normal needle and thread to sew up your jacket?
You can, but for a better job, grab a sharp, thin needle—think quilting needle. It’s gentler on the jacket’s tight fabric. Also, use strong synthetic thread, like polyester or nylon. Skip cotton thread.
It soaks up water, can rot over time, and just isn’t as strong. Oh, and don’t forget to dab a bit of seam sealant or even clear nail polish on the thread ends. That’ll stop your stitches from coming undone.
Will my patch mess up the jacket’s waterproofing?
If you use the right waterproof and breathable repair tape—McNett or Gear Aid are good brands—and put it on well, the spot should still keep water out pretty well. But, the patched spot might not breathe as easily.
And yeah, technically, the jacket’s official waterproof rating isn’t the same anymore. If staying totally dry is super important, you might want to look into getting a professional seam-taped repair done.
Got a tiny hole letting feathers out? Here’s how to plug it.
Start by gently tucking any stray feathers back in. Next, use a toothpick to put a tiny drop of flexible, clear seam sealant right on the hole. Don’t use super glue! Let it dry completely. That’ll seal up the leak.
To make it tougher and more scratch-resistant, once the sealant is totally dry, stick an adhesive fabric patch right over the top.