Can Patagonia Jacket Waterproofing Be Restored?
Hey fellow outdoor lover! Noticed your go-to Patagonia jacket soaking up water instead of shedding it? You’re definitely not the only one. That awesome water-repellent finish, called DWR (which stands for Durable Water Repellency), isn’t permanent. Whether it’s your favorite Torrentshell, Nano Puff, or any other shell, here’s the good part: you can totally revive that protective DWR coating. Bringing back the DWR coating on your Patagonia jacket is pretty simple. It saves you cash, makes your gear last longer, and keeps you dry for your next trip. So, let’s get into how to refresh your jacket properly.
Table of Content
- Understanding Your Jacket’s DWR Coating
- Preparing Your Jacket for Restoration
- Choosing the Right DWR Restoration Product
- Step-by-Step DWR Application Process
- Testing and Maintaining Your Restored Coating
- When Professional Reproofing is the Answer
- Conclusion and Final Action
- Ready to give your gear a new lease on life?
- FAQ: Restoring Your Patagonia Jacket’s DWR
Let’s talk about your jacket’s DWR coating.
So, what exactly is DWR, and why does it stop working?
Here’s the core idea: DWR is a chemical treatment sprayed on your jacket’s outer layer. It’s not what makes the fabric waterproof—that’s the membrane’s job, like Gore-Tex or H2No.
Instead, DWR makes water bead up and roll right off, so the outer fabric doesn’t get soaked. If that outer fabric gets wet, your jacket feels clammy and stops breathing well, even if the waterproof membrane inside is still doing its job.
DWR fails for a few reasons: your backpack rubbing against it, dirt and oils from you and the outdoors building up, washing it too often with harsh soap, and just plain old wear and tear from your adventures.
Even Patagonia says DWR is a sacrificial layer meant to protect the membrane, so you’ll need to refresh it now and then.
This distinctive sky blue mid-length parka provides serious arctic protection for temperatures down to -30°C, featuring 85% white duck down with 600+ …
View Product →
How to tell if your Patagonia jacket needs a DWR refresh.
First, do a quick check before you try to restore the DWR coating. The classic sign is water soaking in instead of beading up, leaving dark, wet patches on the fabric. Your jacket might also feel heavier and less breathable when you’re active.
Try this simple test: sprinkle a few water drops on the chest or sleeve. If the water doesn’t bead up and roll off, it’s definitely time to refresh that DWR coating. Don’t mix this up with a leaky waterproof membrane.
If water’s actually coming *through* the jacket, that’s a different, more serious repair problem. Restoring the DWR coating is just routine maintenance, not a fix for holes or the layers coming apart.
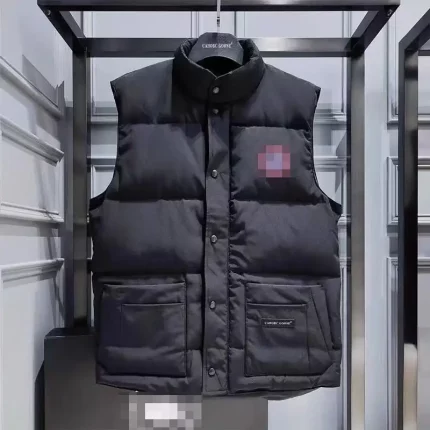
This black replica vest delivers efficient core insulation with 700 Fill Power white duck down, offering a balanced loft-to-weight ratio ideal for tra…
View Product →
First up, get your jacket ready for the DWR restoration.
The most important thing to start with? A really good clean.
You absolutely have to wash your jacket first. Any dirt, grease, or leftover stuff from old treatments will stop the new DWR from sticking right. Grab a cleaner made for gear, like Nikwax Tech Wash or Grangers Performance Wash.
Skip the normal laundry soap, fabric softener, or bleach. They can break down the DWR coating and block up the tiny holes in the fabric. Wash your Patagonia jacket on a gentle setting with warm water.
Make sure to rinse it twice to get all the soap out. I messed this up myself once. I sprayed DWR on a jacket I thought was clean, and it turned out blotchy and didn’t work well at all. Doing a proper wash first fixed everything when I tried again.
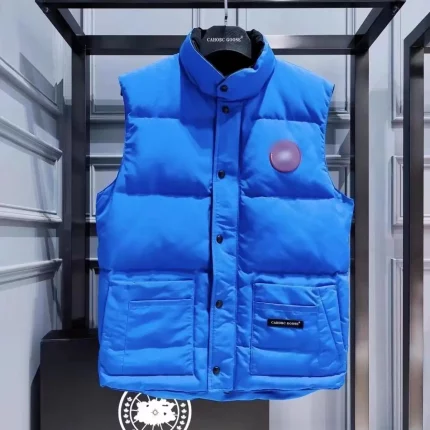
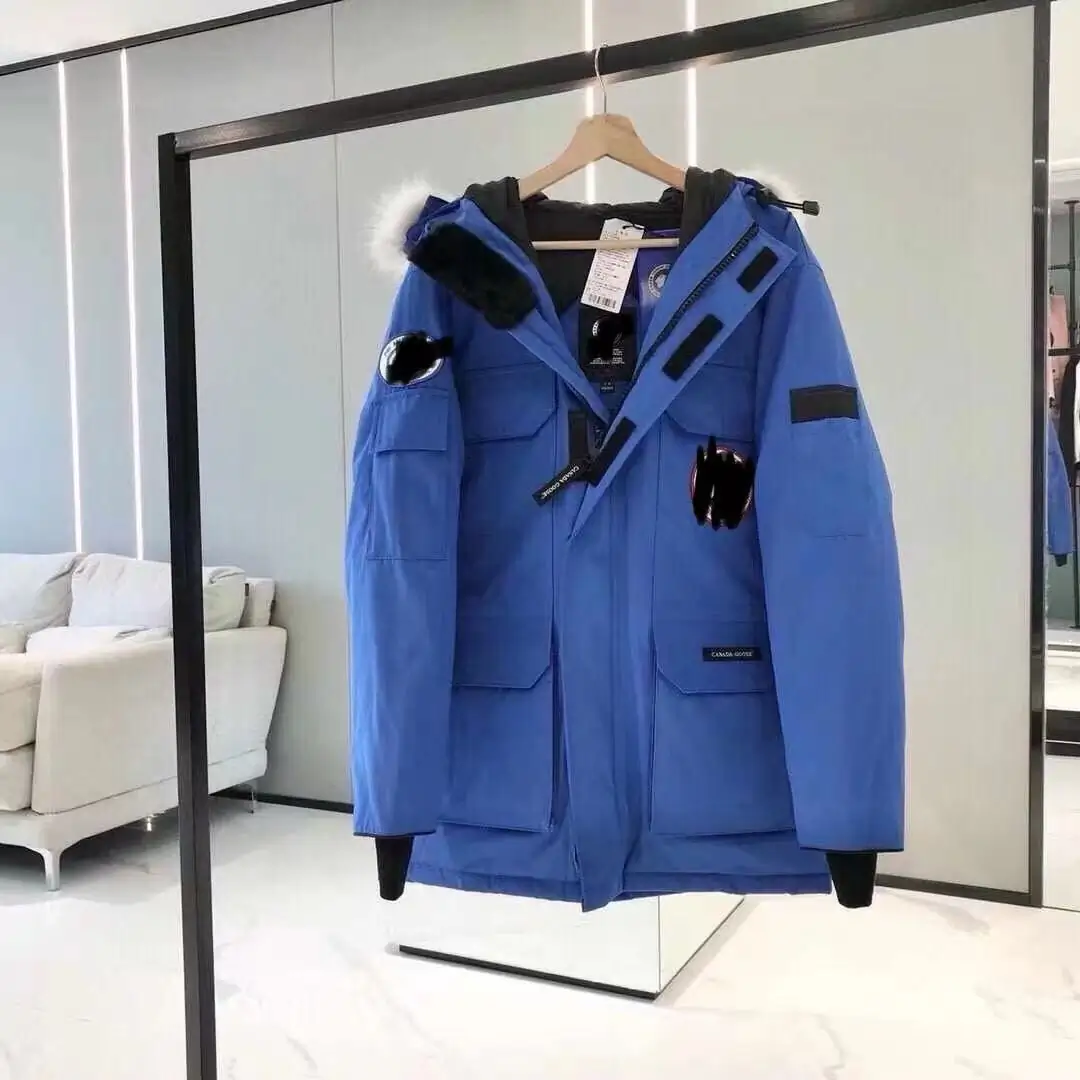
This rich royal blue mid-length parka delivers serious arctic protection for temperatures down to -30°C, featuring 85% white duck down with 600+ fill …
View Product →
Next, dry it and check it over.
Here’s the key step for drying: toss it in the dryer on low or medium heat after the wash. The heat is super important. First, it can wake up any leftover DWR coating. Second, it gets the fabric ready to soak up the new treatment better.
Always check the tag to be sure, but most Patagonia shells are fine in the dryer. Once it’s dry, give it a good look. Check for any leftover stains or spots where water soaks in instead of beading up. This way, you’re starting your DWR restoration on the best possible base.
>Engineered with 700-fill power white duck down, this high-quality replica vest delivers exceptional thermal efficiency for light cold conditions.
View Product →
So, you need to pick the right product to restore your Patagonia jacket’s DWR coating.
First up, let’s talk about the two main types: spray-on and wash-in treatments.
You’ve basically got two options: spray-on or wash-in DWR restorers. Both have their upsides and downsides. What works best really comes down to how worn your jacket is and what you find easier.
DWR Product Here’s a quick breakdown of each type: Comparison
| Here’s a quick breakdown of each type: |
What it’s good for |
The good stuff |
The not-so-good stuff |
| Spray-On (e.g., Nikwax TX.Direct Spray) |
It’s perfect for targeting specific spots, like heavily worn areas or doing a quick spot treatment. |
You get more control. You can really focus on the high-wear zones—think shoulders and cuffs—and you don’t waste product on parts that are still okay. |
The downside is it’s a bit more work. You have to spray it evenly, and you definitely need to do it somewhere with good airflow. |
| Wash-In (e.g., Grangers Clothing Repel) |
This is your go-to for an all-over refresh. It’s super convenient and gives the whole jacket an even coat. |
It’s really easy—just toss it in the washing machine with your jacket. That way, you know every part gets covered. |
But you have less control. It might treat areas that are still fine, and the protection might not be as strong on the spots that really need it. |
So, what’s the best plan for a full DWR restoration on your Patagonia jacket? A lot of experts, even gear repair pros, suggest this: start with a wash-in treatment to cover the whole thing. Later on, you can use a spray for touch-ups, especially on those high-wear areas.
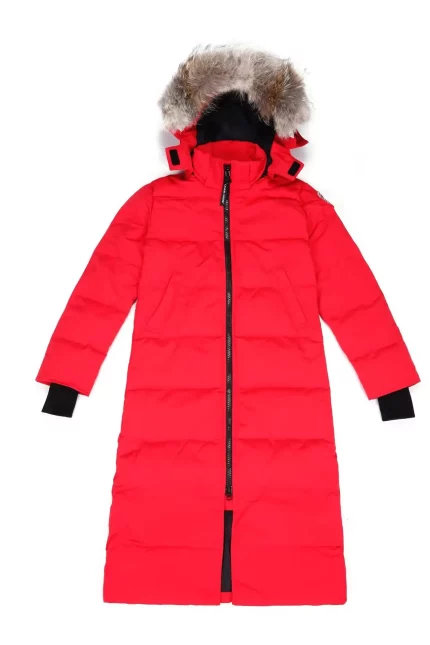
This vibrant bright red mid-length parka offers serious arctic protection for temperatures down to -30°C, featuring 85% white duck down with 600+ fill…
View Product →
Key Ingredients and Environmental The not-so-good stuffiderations
Here’s something to know for making a smart choice. The old-school DWR treatments used PFCs. Those things were tough, but they’re not great for the environment or our health.
That’s why Patagonia and pretty much everyone else has switched to PFC-free DWR coatings now. Good news—brands like Nikwax and Grangers make high-performance options that are way friendlier to the environment.
So when you’re picking a DWR restorer, just check the label for PFC-free or fluorocarbon-free. These new formulas work great for most of us. Some hardcore athletes might say they don’t last *quite* as long as the old stuff.
but they’re plenty effective. Picking an eco-friendly DWR restorer is a good move. It totally fits with Patagonia’s whole vibe of caring for the planet.
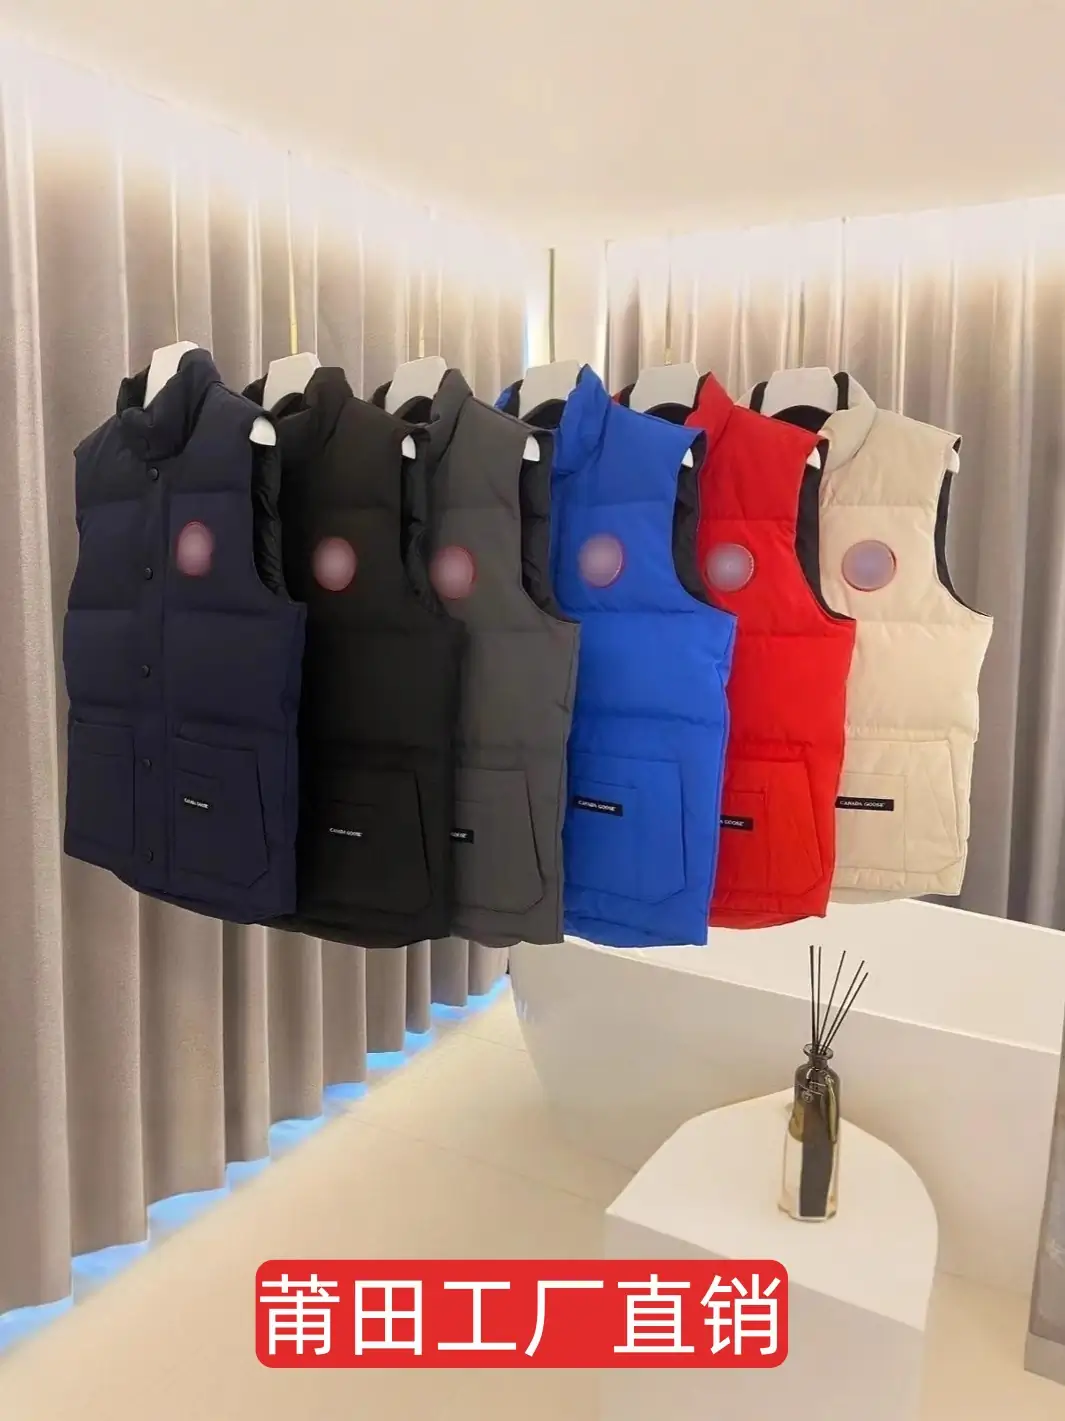
Featuring high-loft 700-fill power white duck down, this versatile vest delivers premium thermal insulation for cool to cold conditions.
View Product →
Step-by-Step DWR Application Process
Applying Spray-On DWR Treatment
Here’s the main thing: spray it on damp fabric. First, wash your Patagonia jacket. Then, while it’s still a bit damp, move it to a spot with good air flow. Hang the jacket up. Give the spray can a really good shake.
Keep the can about half a foot away. Then, mist a light, even layer all over the outside of the jacket. Make sure you hit the shoulders, hood, and sleeves especially well. You don’t need to soak it. A light mist is all you need.
Let it sit for a couple minutes. After that, grab a clean cloth and gently wipe away any leftover spray that didn’t soak in. This stops any sticky stuff from building up. The last step is super important.
Tumble dry it on medium heat for 20 to 30 minutes. This heat cures or sets the DWR coating. That heat locks the treatment in place, so it lasts longer.
Engineered for extreme conditions, this High-Quality replica utilizes advanced synthetic insulation rated to 650+ fill power equivalence, delivering e…
View Product →
Using a Wash-In DWR Product
The main action here is adding it during the rinse. This way is actually easier. First, wash your jacket with a tech cleaner and let the dirty water drain out.
Then, when it’s time for the rinse cycle, pour in the right amount of wash-in DWR product—something like Grangers Repel works great. Some you toss right in the drum, others go in the soap drawer. Just check the bottle to be sure.
Then, just run a normal rinse and spin cycle. Once that’s done, take the jacket out. Toss it in the dryer right away on medium heat, and dry it all the way.
With this wash-in method, the DWR gets worked evenly into the fabric while the machine rinses. Then, the heat from the dryer seals the deal and locks it in.
Engineered for high-altitude thermal retention, this vest's 700-fill power down provides exceptional loft and warmth-to-weight ratio
View Product →
Testing and Maintaining Your Restored Coating
How to Test the Results
Alright, here’s the key test to do. Once your Patagonia jacket is totally cool and dry from the dryer, that’s when you check if the DWR coating worked. Just take it to the sink and sprinkle a little water on the sleeves and front.
What you want to see is the water beading up right away—forming into little balls that just roll off the fabric. If the water soaks in instead, don’t worry. Sometimes you need to do a second treatment, especially on jackets that are pretty old.
Just make sure you did all the steps right, especially the part where you used heat to set the coating. When your DWR coating is properly restored, water acts just like mercury on glass—it just beads and slides right off.
Engineered for light-cold conditions down to -5°C, this parka features 550 Fill Power white duck down, offering exceptional thermal efficiency and lof…
View Product →
Proactive Maintenance for Longevity
Here’s how to make that restored DWR coating last: get into some good habits. Wash your jacket more often than you might guess—like every 10 to 12 times you wear it, or anytime it looks dirty. Dirt is the worst thing for DWR.
Always use a tech wash or a cleaner made for this stuff. Try to keep sunscreen or bug spray from getting on it all the time. Hang your jacket up in a cool, dry spot for storage. Don’t just stuff it in a sack for months on end.
You’ll probably need to re-treat the DWR every few washes, or maybe once a season, depending on how much you use the jacket. Between full re-treatments, you can spot-treat the areas that get the most wear with a spray-on DWR. This helps you go longer before needing to do the whole jacket again.
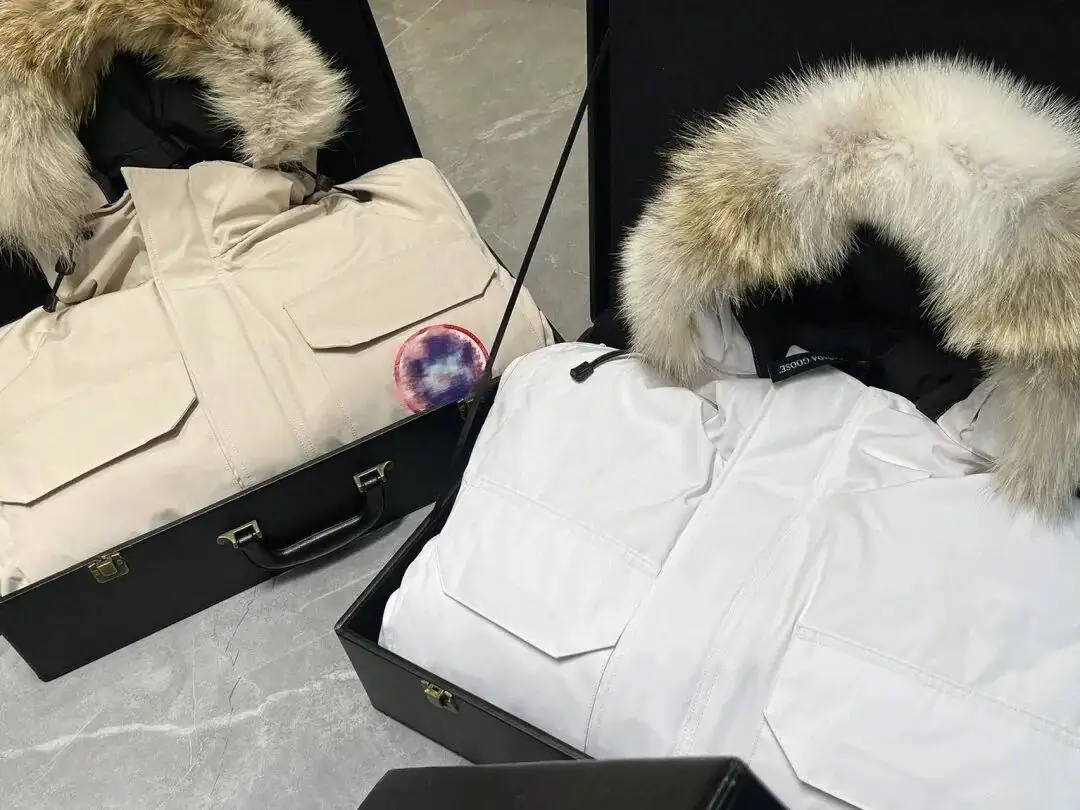
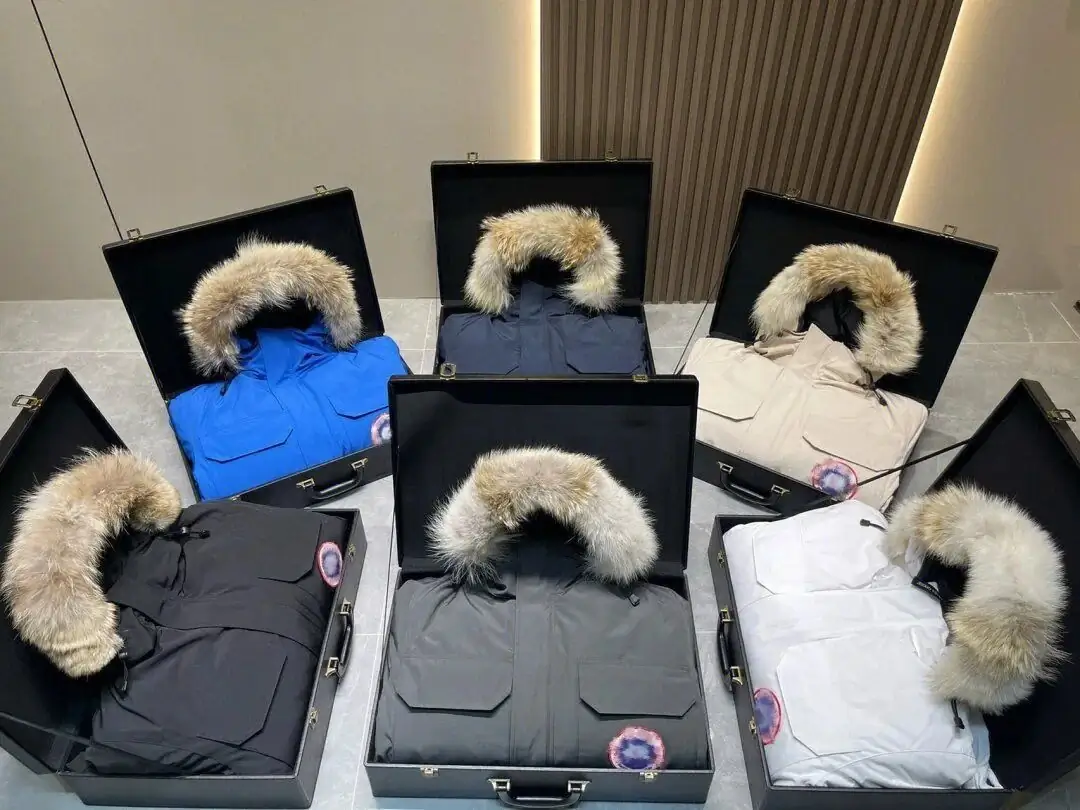
This long, hooded parka is designed for serious winter conditions. Filled with 50% white goose down, it provides substantial warmth for daily commutes…
View Product →
So, when should you call in the pros for DWR reproofing on your Patagonia jacket?
First, figure out if the damage is more than just a worn-out DWR coating.
Here’s the thing: fixing the DWR coating at home only works on the surface layer. It can’t handle bigger problems like a busted waterproof membrane, leaky seams, or rips in the fabric.
If you’ve tried the home fix and water’s still getting *through* the jacket, not just soaking the outside, the membrane itself might be the problem. Other red flags are a crunchy or stiff feel in the lining—that’s delamination—or if you can see it peeling off inside. For stuff like that, a DIY job just won’t cut it.
That’s where Patagonia’s repair services come in handy.
Their Ironclad Guarantee and Worn Wear program are pretty famous for good reason. If your jacket’s really beat up or you’re not sure about fixing it yourself, just send it to them.
They’ll professionally clean it, reapply the DWR coating, and do any repairs, all for a fair price. For tricky issues, this is usually the better bet—you know the work will be done right.
Plus, it keeps your gear going strong and out of the trash, which is a big part of what they’re all about. I mailed in my old, well-worn rain shell to get the seams fixed and the DWR coating restored. When it came back, it worked like new—shows you how good they are.
Here’s a quick guide to help you decide: DIY or go pro for your Patagonia jacket’s DWR restoration?
| Situation |
Recommended Action |
Reasoning |
| General water soak-in (fabric wets out), jacket is otherwise intact. |
DIY Home Restoration |
Cost-effective, quick, and highly effective for standard DWR renewal. |
| Water leaking through seams or fabric, physical damage, delamination. |
Professional Repair Service (e.g., Patagonia Worn Wear) |
Requires technical repair beyond surface treatment; ensures warranty compliance and longevity. |
| Uncertain about the cause of failure, or DIY attempts have failed. |
Consult Professional Service |
Expert diagnosis can save time and prevent further damage from incorrect treatment. |
Conclusion and Final Action
Fixing up the DWR coating on your Patagonia jacket is pretty simple. It’s also super satisfying gear maintenance. Doing this brings your jacket’s performance back to life. It respects the money you spent on good gear. Plus, it’s a sustainable move—you’re fixing what you already have instead of tossing it. You just need the right cleaner, a good PFC-free DWR spray, and a dryer. Then you can totally handle this job. After that, you’re ready to hit the trails with your jacket feeling like new again. Keep in mind, if you take good care of your jacket, it’ll be your trusty sidekick for loads of adventures to come.
Wanna bring your gear back to life?
Just grab your Patagonia jacket, get some tech wash and a DWR restorer, and give it a shot this weekend.
Show us how the water beads before and after in the comments—we’re all ears for your success story on restoring that DWR coating! If you want more tips on gear care, our full guide to waterproof jacket maintenance has got you covered.
Got questions about fixing your Patagonia jacket’s DWR coating? Here are some answers.
So, how often do you actually need to restore that DWR coating on your Patagonia jacket?
There’s no set rule for this—it really comes down to how much you wear it. A handy tip is to reapply the DWR treatment once water stops beading up on the fabric.
That usually happens after you’ve washed it 5 to 10 times, or after a season of really putting it through its paces. Washing it regularly with the right tech wash can actually help the DWR last longer between treatments.
If you’re out hiking or commuting in your jacket every week, you’ll probably want to refresh the DWR coating once or twice a year.
Can you just use a normal iron to get the DWR coating working again?
That’s not a good idea, and it could actually damage your jacket. The safest and best way is to use a tumble dryer—it gives you that steady, even heat you need. Even if you put a cloth between, an iron can get too hot in spots.
That uneven heat might ruin the waterproof layer or even melt parts of the jacket. So, after you’ve applied the DWR spray, just toss the jacket in the dryer on a low or medium heat. That’ll set the treatment safely.
What about restoring DWR on a puffy down jacket, like a Patagonia Down Sweater? Is that okay?
Yes, you can, but you’ve gotta be a bit more careful. The steps are basically the same: wash it, spray on some DWR (a spray is easier for those puffy jackets), and then dry it in the dryer.
The dryer heat is actually great—it helps fluff the down filling back up. Toss in a couple of dryer balls or clean tennis balls. They’ll bounce around and help break up any clumps.
making sure the down fluffs evenly and the DWR coating sets properly all over. Oh, and always double-check the care label on your specific jacket first, just to be sure.
Ever ended up with a sticky or stiff feeling on your jacket after doing a DWR treatment?
That usually means you either put on too much product, or you didn’t get it fully set with heat. If there’s leftover DWR spray just sitting on the fabric, it’ll feel kind of tacky.
To fix it, just take a damp cloth and wipe down the spot to get rid of the extra stuff. Then, throw the jacket back in the dryer on medium heat. That should finish setting whatever’s left.
You can avoid this whole mess next time by spraying lightly and evenly, and holding the can about the distance it says on the bottle.